Mastering the perfect winged eyeliner can take some practice, but you can achieve a flawless winged look with the right tips and techniques. Here’s a step-by-step guide to help you:
Start with a clean canvas
Ensure your eyelids are clean and free from oils or makeup residue. You can apply a light dusting of translucent powder or an eyeshadow primer to create a smooth base for the eyeliner.
Choose the right eyeliner
Decide whether you prefer a liquid, gel, or felt-tip pen. Liquid eyeliners with a fine-tipped brush or a pen-style applicator are generally easier to control for creating precise lines.
Use small strokes
Instead of attempting to create the entire wing in one stroke, use short and small strokes to build the shape gradually. It gives you more control and precision.
Start with the wing
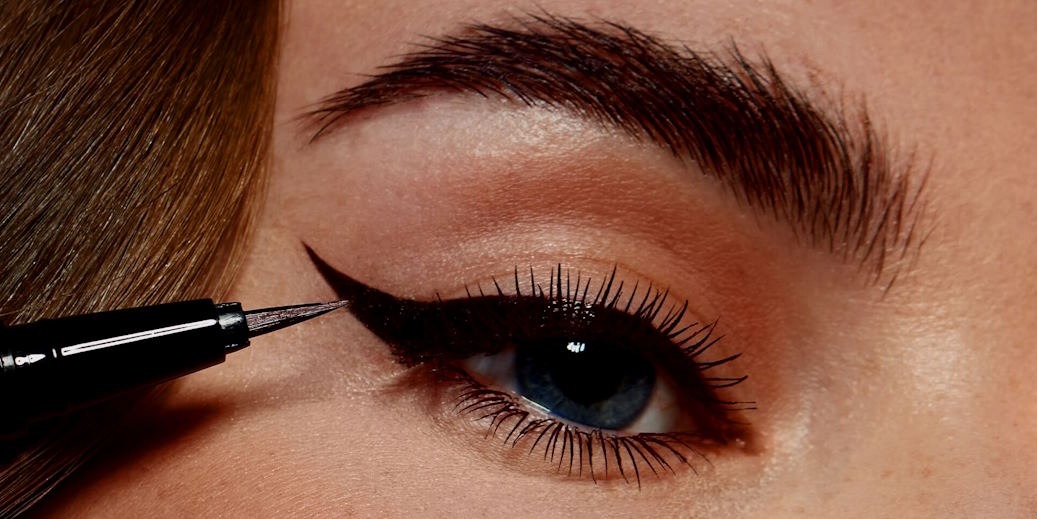
Begin by creating the wing first. Imagine a line extending from the outer corner of your eye toward the end of your eyebrow. Place a dot or a small dash at the desired angle for your wing.
Connect the dots
Starting from the dot or dash you created, draw a line towards the center of your eyelid, following the natural curve of your eye. Stop where your lashes end, or continue the line for a more dramatic look.

Fill in the outline
Once you have your wing’s outline, connect it to your upper lash line. Use small, controlled strokes to create a smooth line along your lashes. If you prefer a thicker line, gradually build up the thickness.
Check for symmetry
As you apply the eyeliner, check both eyes in the mirror to ensure they are symmetrical. Adjust the length, angle, or thickness of the wing to achieve balance.
Clean up any mistakes
If you make a mistake or the lines aren’t as crisp as you’d like, don’t worry. Use a pointed cotton swab dipped in makeup remover or micellar water to clean up any smudges or uneven edges.
Set the eyeliner
To prevent smudging and make your winged eyeliner last longer, you can set it with a matching eyeshadow or a translucent powder using a small angled brush. Gently press the powder over the eyeliner to set it in place.
Practice makes perfect
Remember that practice is key to mastering winged eyeliner. Don’t be discouraged if it doesn’t look perfect on your first try. Keep practicing, experimenting with different techniques, and adjusting the angle and length of the wing to find what works best for your eye shape.
Bonus Tip
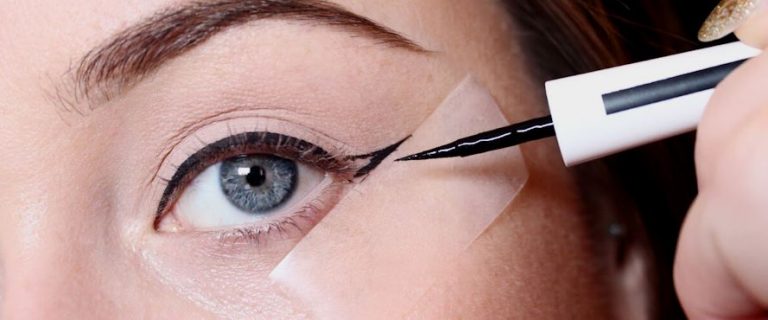
For a sharper and more precise wing, you can use a piece of tape or a thin, angled brush dipped in makeup remover to create a clean edge. Place the tape or brush along the outer corner of your eye as a guide for drawing the wing, then remove it and fill in the shape.


